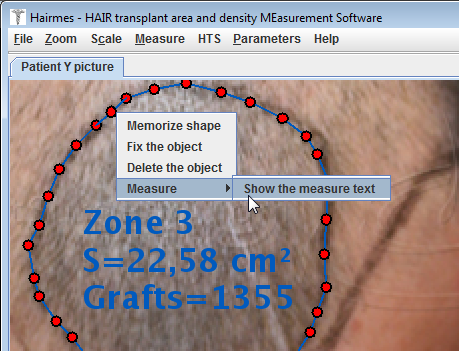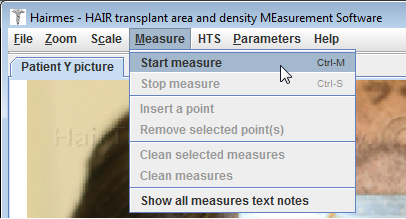
The measurement menu
This menu allows you to make surface area measurements on your image:
How to make a surface area measurement:
To measure surface area on the image, you must first draw the outline of the area.
To do this, you must select the menu Start measure or press the key sequence Ctrl M
When you click on this menu, the mouse pointer becomes a cross.
You can click on the image to create your first point:
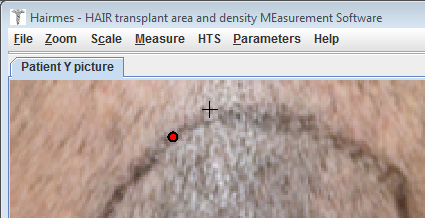
The created point is represented by a red dot surrounded by a black circle.
If you click again to another location, you'll create a second point that will be connected to the first point by a segment:
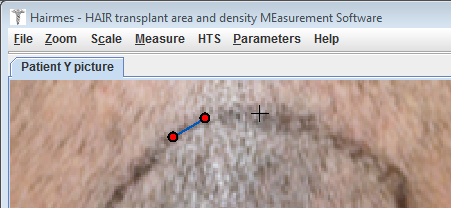
When you have finished placing your points, you must stop placing them.
Important Note: There is no need to click back on the starting point; the polygon will be automatically closed.
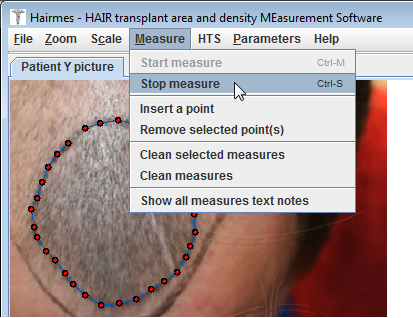
To stop the capture, you can activate the menu Stop measure or press the key sequence Ctrl S:
The software automatically calculates the surface area, assigns a numeric identifier and displays a default label at the centroid of the measurement with the name and the calculated surface:
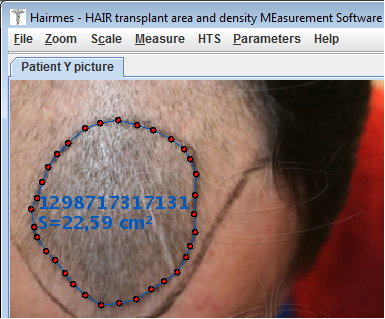
If you move a point belonging to the measure outline, the surface will update automatically.
How to modify a measure:
The text associated with the measure has a contextual menu you get when moving the mouse over the text and clicking the right mouse button:
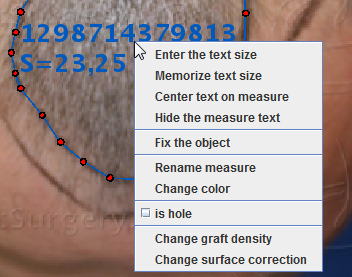
Explanation of contextual menu items:
« Enter the text size »: allows you to change the size of a text.
« Memorize text size »: the next time you measure an area, this text size will be used for display.
« Center text on measure »: allows you to recenter the text on its measurement when you are unsure which measurement it belongs to.
« Hide the measure text »: disables the display of the text associated with a measurement.
« Fix the object »: locks all points of a measurement (to prevent accidental movement).
« Rename the measure »: replaces the default identifier with a more descriptive name.
« Change the color »: to change the text color and segments of the measure.
« Is hole »: allows a measure to create a hole in another measure.
« Change graft density »:to assign a density of graft to the area measured.
« Change surface correction »: to assign a correction factor for surface area measured.
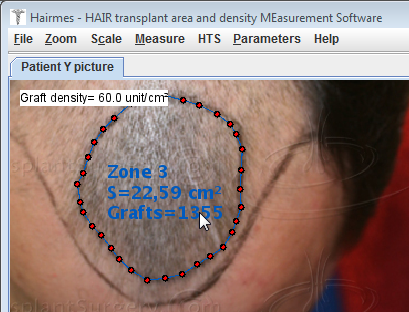
When you move the mouse over the text of the measure, without clicking a mouse button, a pop up window appears at the top left of the screen and gives the correct density of graft applied to the measurement (if set):
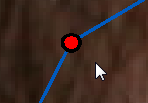
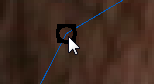
The points that form the outline of the measure can be moved using the mouse.
Just click on the point to select it.
When the point is selected, it becomes transparent and a black square is positioned around the point to indicate it is selected.
Once the point is selected, then you can move it by holding the left mouse button pressed.
 |
 |
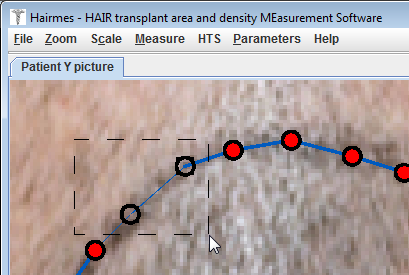
You can select multiple points by defining a rectangular selection area.
To do this, simply click with the left mouse button at a given location, then hold the mouse button pressed and move the mouse to select all points, then release the button.
Several points can also be selected by pressing SHIFT key and clicking successively on the points to be selected with the left mouse button.
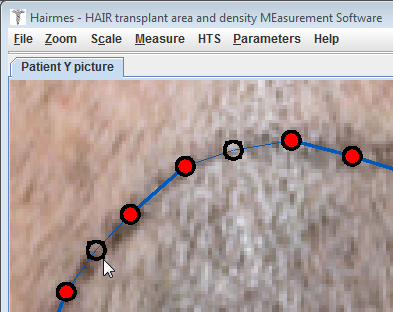
Warning : you can not select a point that lies beneath the text of the measure. You have to move the text first, if you want to select the point.
Adding and deleting points :
It is also possible to delete or add points to the outline that was created.
To remove one or more points, you must select the items and then open the Measure menu and click the Remove selected point(s) menu.
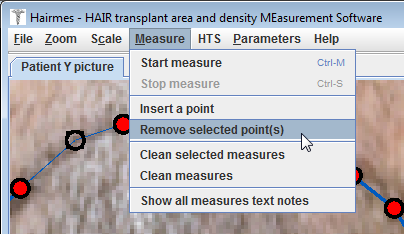
Selected points are deleted and neighbors of deleted points are interconnected.
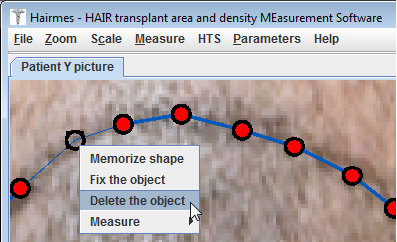
It is also possible to delete a point using its contextual menu (right-click on the point):
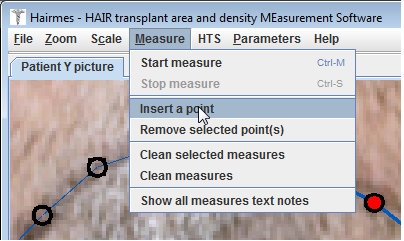
To add a point between two existing points, just select the two points (they must necessarily be neighbors) and go to the Measure menu and click Insert a point
Example :
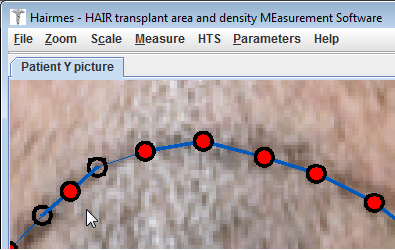
The new point created is inserted in the middle of the two selected points, you can then move it as needed:
Deleting measures :
To delete one or more measurements, select a point on the measurement and go to the Measure menu and then click Clean selected measures.
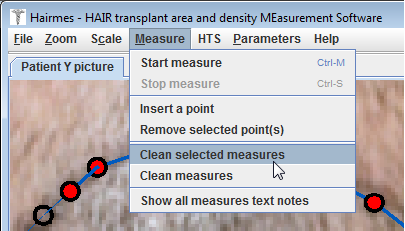
To clear all measures, you must click on the Clean measures menu
Contextual menu item :
As for the text of the measure, you can activate a contextual menu on each point of measurement: