This menu allows you to calibrate your image.
Hairmes does not support georeferenced images.
To calibrate an image, there are two methods :
Method n°1 :you know the value of a distance on the image.
Hairmes allows you to mark this distance on the image, using calibration markers.
Once the known distance is identified, you just have to enter the real distance in the user interface.
To mark this distance, you need to activate the Activate calibration input menu:
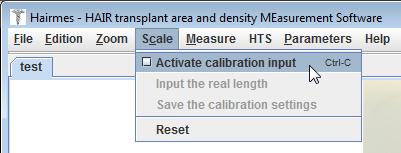
When you enable this menu, the mouse pointer becomes a cross. If you disable the menu, the mouse pointer returns to an arrow.
To place the calibration markers at the desired locations of calibration, you must click on the first point to be marked and, while keeping the mouse button pressed, you move the pointer to the second point and release the mouse button.
The calibration markers have a red cross shape that it is possible to move to refine the calibration accuracy.
For instance :
Step 1 : you click on the first point to be marked (the first calibration marker appears)
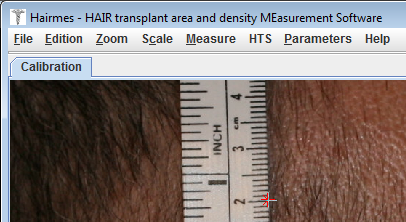
Step 2 : you move to the second point, keeping the mouse button pressed
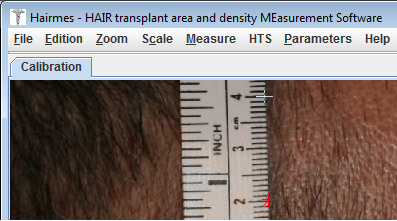
Step 3 : you release the mouse button (the second calibration marker appears)
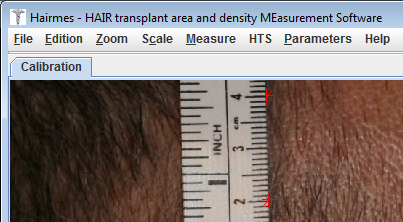
If your calibration markers are not precisely positioned, this does not matter, as they are not yet fixed; you can move them to position them more precisely.
To select calibration markers you need to position the mouse over it and click the left mouse button. You can then move it:
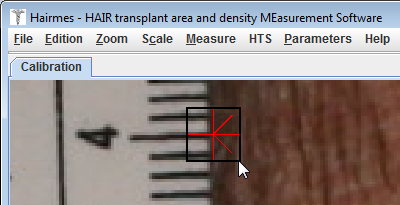
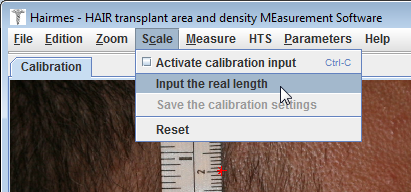
When your calibration markers are correctly positioned, you must specify the real distance between the markers. To do this, go to the menu Input the real length:
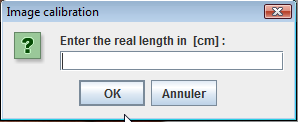
A dialog box will appear and you can enter the distance in units indicated in brackets (on the example, the unit is in cm):
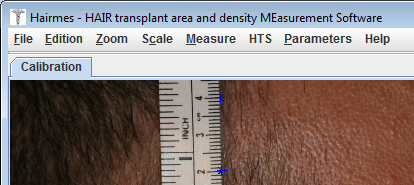
Once the real distance is entered, the markers become fixed and their colour turns blue. You can no longer move them.
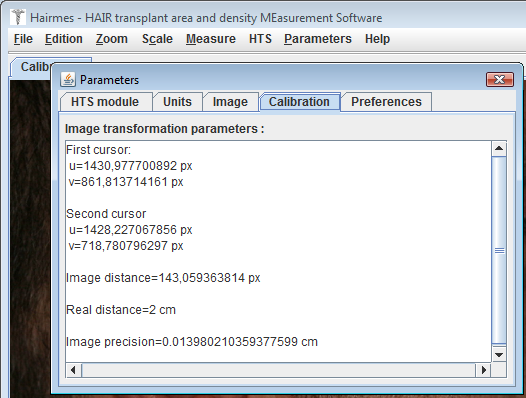
As a reminder, you can view your calibration settings using the Calibration tab of the Parameters menu:
Method n°2 :
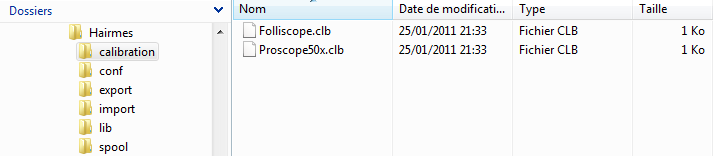
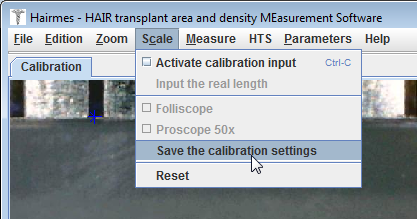
Your image is from a known device (such as ProScope or Folliscope) on which you have already performed a calibration that you previously saved in the calibration folder of the installation folder, as shown below:
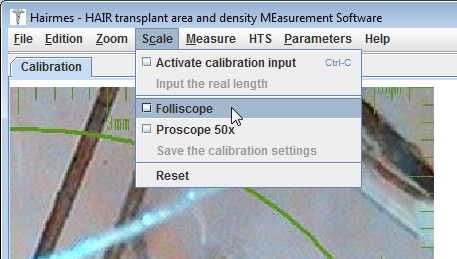
To calibrate your image instantly, simply click on the corresponding calibration menu.
Remove the calibration :
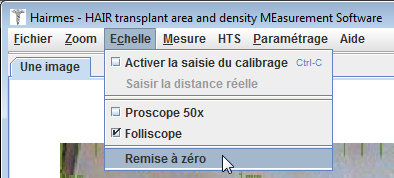
The removal of the calibration is done via the menu Reset::
Creating a calibration file :
The operation is very simple: just take a picture of a reference scale with your device (a metal ruler graduated in millimetres, for instance).
Take for example the image below from a ProScope:
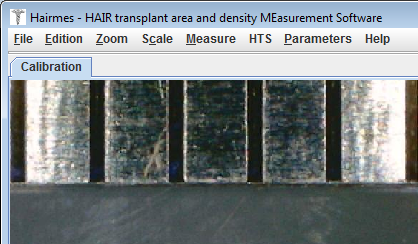
You must first calibrate the image (see above for method):
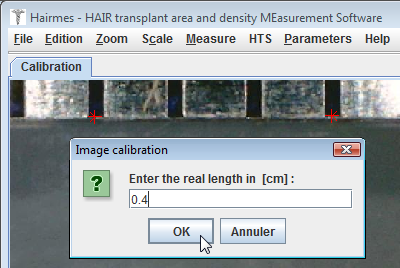
Then go to the menu and save the calibration you just performed:
Then name the calibration:
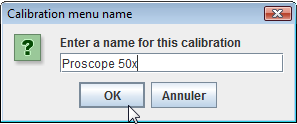
The name you enter will be the one that you see in the Scale menu.
The calibration files are saved into the "calibration" folder as a text file with the extension ".clb".
In our example, the file will contain the following information:
calibration.name=Proscope 50x ProScope 50x = calibration.name
calibration.length.real=0.004 calibration.length.real = 0.004
calibration.length.image= 438.771689520 calibration.length.image = 438.771689520
calibration.length.real is expressed in meters.
calibration.length.image is expressed in pixels.